
Chole bhature pairs a warmly spiced Punjabi chickpea curry with soft, puffed bread fried until golden. Preparing the ingredients and equipment in advance makes the process easier and helps both parts reach the table hot. The chickpeas benefit from a long soak, while the bhature dough needs time to rest and become pliable.
For the chole: Gather 1 cup dried chickpeas, 1 tea bag or a small amount of tea leaves tied in cloth (optional, for a deeper brown color), 1 onion, 2 tomatoes, fresh ginger, garlic, and 1 green chili. You will also need oil or ghee, cumin, ground coriander, turmeric, chili powder, garam masala, amchur (dried mango powder), and salt. Adjust the chili to suit your preference; lemon juice can provide a little tang if amchur is unavailable. Canned chickpeas are a useful shortcut: drain and rinse them, then add them later in cooking, since they do not need pressure-cooking. For dried chickpeas, rinse thoroughly and soak overnight in plenty of water before cooking.
For the bhature: Set out flour, semolina, plain yogurt, a little sugar, salt, oil, and water. Semolina contributes texture, while yogurt helps make the dough tender. If needed, use a neutral cooking oil in place of ghee in the curry, or omit the tea for a lighter-colored chole; these changes do not prevent a flavorful result.
Have a pressure cooker or heavy pot ready for the chickpeas, along with a mixing bowl, rolling pin, and a deep, sturdy pan for frying. Keep a slotted spoon and a plate lined with paper towels nearby. Measure the oil for frying and leave ample space around the pan; never fill it more than halfway, and keep water away from hot oil. Allow time for the dough to rest while the chole cooks. Begin heating the frying oil only when the curry is nearly ready, then fry the bhature in batches and serve immediately with hot chole.
Drain the soaked chickpeas and transfer them to a pressure cooker or a covered pot. Add fresh water to cover them generously, along with salt if desired. For the traditional deeper brown color, place a tea bag in the cooking water; remove and discard it once the chickpeas are cooked. In a pressure cooker, cooking may take roughly 20–35 minutes after pressure builds, while a covered pot can take about 60–90 minutes at a gentle simmer. These times vary with the appliance and the age of the chickpeas, so check for tenderness rather than relying on the clock alone. The chickpeas should be soft enough to bite but still hold their shape. Reserve the cooking liquid before draining.
To make the masala, warm oil or ghee in a heavy pan over medium heat. Add cumin seeds and, if using, whole spices such as bay leaf, cinnamon, or cloves; let them sizzle briefly until fragrant. Stir in the finely chopped onion and cook, stirring regularly, until golden. Add minced ginger, garlic, and green chili, and sauté for about a minute. Mix in chopped or puréed tomatoes, followed by ground coriander, cumin, turmeric, and chili powder. Cook until the tomatoes soften and the mixture thickens, stirring to prevent sticking. The masala is ready when the oil begins to separate around its edges.
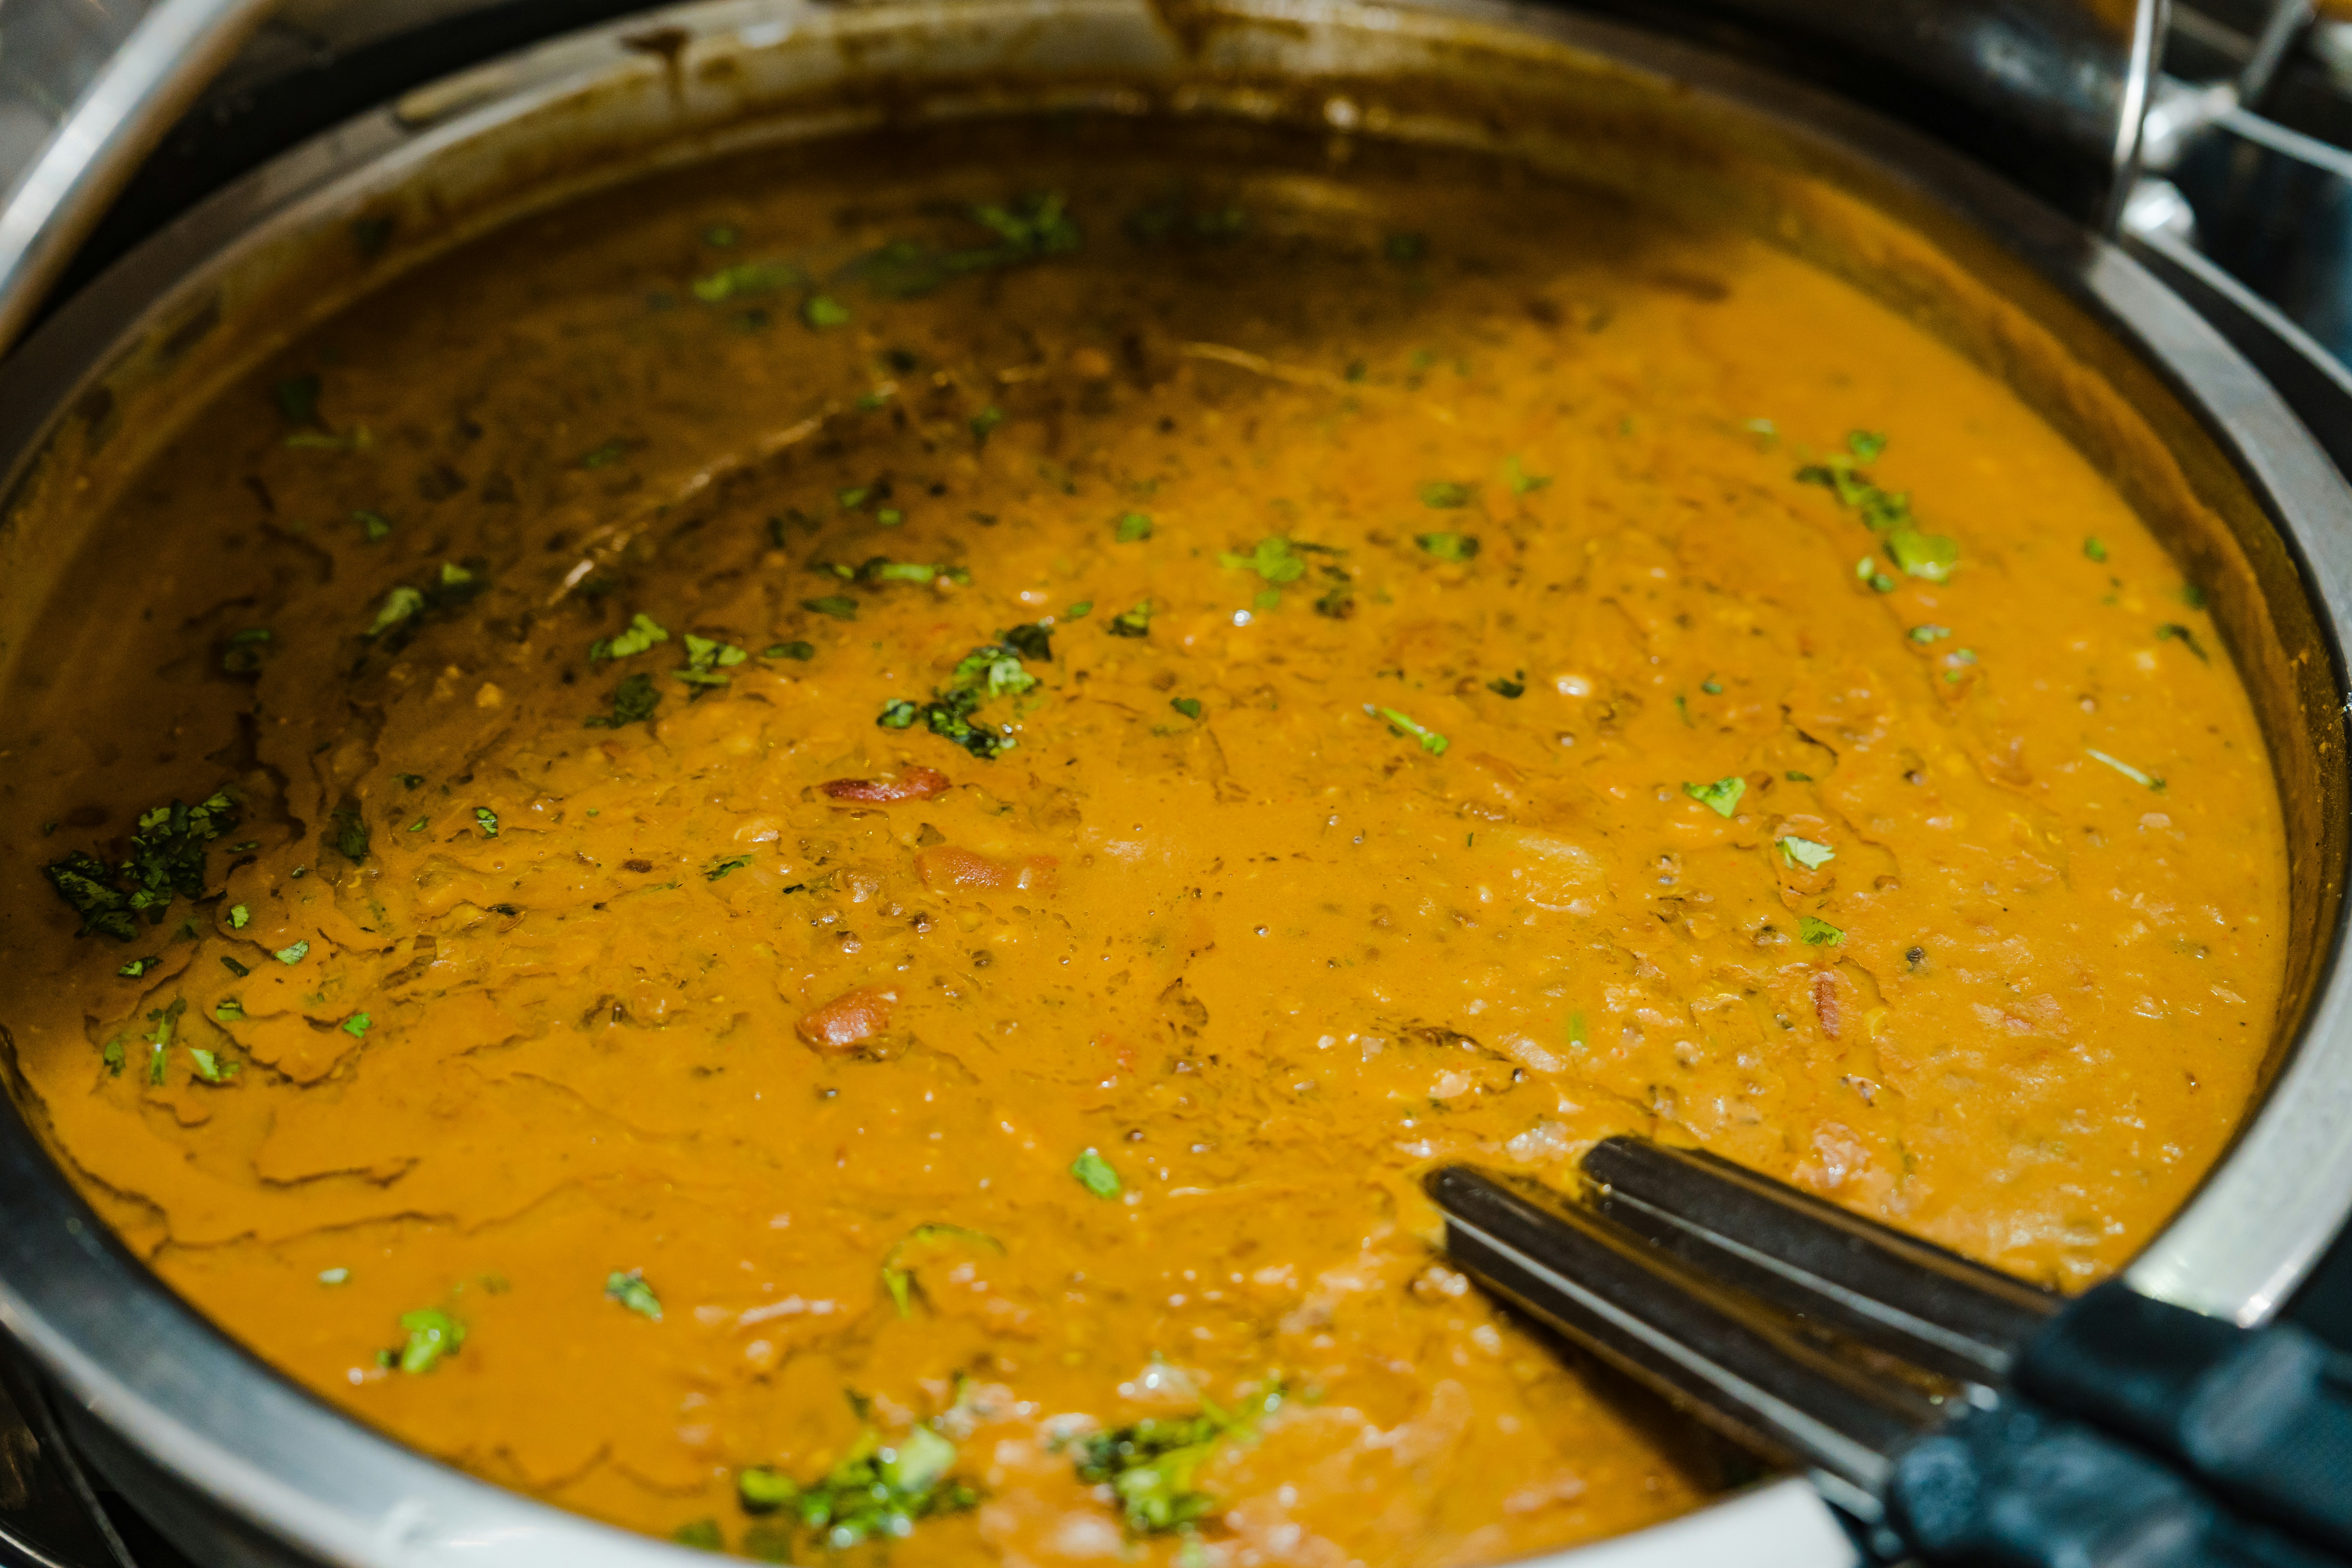
Add the cooked chickpeas and enough reserved cooking liquid to create a thick, spoonable curry. Simmer gently for 15–20 minutes so the chickpeas absorb the masala. For a fuller texture, mash a few chickpeas against the side of the pan and stir them back in; their starch will naturally thicken the sauce. Taste and adjust the salt, heat, and tanginess. Add chili for more warmth, amchur or a squeeze of lemon for brightness, or a little water if the curry becomes too thick. Finish with garam masala and freshly chopped coriander. Let the chole rest for several minutes before serving, allowing the spices and chickpeas to meld.
Combine the flour, semolina, salt, and a little sugar in a large bowl, stirring until the dry ingredients are evenly distributed. Add the yogurt and oil, then mix to form a rough mass. Pour in water gradually, a little at a time, mixing as you go; the amount needed can vary with the flour and yogurt. Stop adding water when the dough comes together. It should feel soft and smooth, and should bend easily without sticking heavily to your hands. If it feels dry or stiff, add a small splash of water; if it is sticky, work in a little flour rather than adding too much at once.
Turn the dough onto a clean work surface and knead it continuously for several minutes, pressing and folding until it becomes supple and uniform. A well-kneaded dough rolls more easily and helps the bhature puff evenly during frying. Lightly oil the surface of the dough and the inside of the bowl, then return the dough to the bowl and cover it with a damp cloth or lid. Leave it in a warm place for roughly two to three hours. Fermentation time depends on room temperature: a cooler kitchen may require more time, while a warmer one may need less. A longer rest generally improves softness. Look for a slight increase in volume; the dough does not need to double.
After resting, press the dough gently and knead it briefly to bring it together. Divide it into equal portions so they cook at a similar rate, then shape each portion into a smooth ball. Lightly grease the work surface if needed, and roll each ball into an even oval or circle of medium thickness. Avoid using excess flour while rolling, since loose flour can burn in the hot frying oil and affect its flavour. Keep the thickness consistent across each round; very thin areas may crisp while thicker areas remain undercooked, and uneven shaping can interfere with puffing. Fry the breads soon after rolling, rather than leaving them exposed to air, which can dry the surface and make them less pliable.
Pour enough oil into a deep, heavy pan to allow each bhatura to float freely and become fully submerged. Heat it over medium-high heat, keeping a close eye on the temperature. To test whether it is ready, drop in a small piece of dough: it should rise steadily to the surface and begin to sizzle, but should not brown immediately. If it darkens quickly, lower the heat; if it sinks or barely bubbles, let the oil heat a little longer. Fry one bhatura at a time so the oil temperature stays steady and there is room for the bread to puff.
Carefully slide a rolled bhatura into the hot oil. As it rises, gently press its surface with a slotted spoon to encourage it to inflate. Once puffed, turn it over and cook the other side until both sides are lightly golden. Avoid leaving it in the oil until deeply browned, as it may become crisp rather than tender. Lift it out, allow excess oil to drain back into the pan, then place it on a wire rack or paper towels. Repeat with the remaining dough, adjusting the heat as needed to keep the oil hot but never smoking.
If the bhature turn out dense, consider whether the dough was too stiff, had too little time to rest, or was rolled unevenly. Oil that is too hot can brown the outside before the bread cooks through, while oil that is too cool often produces greasy bhature. Serve them immediately alongside hot chole, with sliced onion, lemon wedges, and green chilies. Pickle, yogurt, or a fresh salad are optional additions. For easier preparation, make the chole ahead and reheat it gently, adding a splash of water if it has thickened. Bhature are best fried just before serving; leftover fried bread can be reheated, but it will not retain the same puffed, fresh texture.


Leave a Reply