


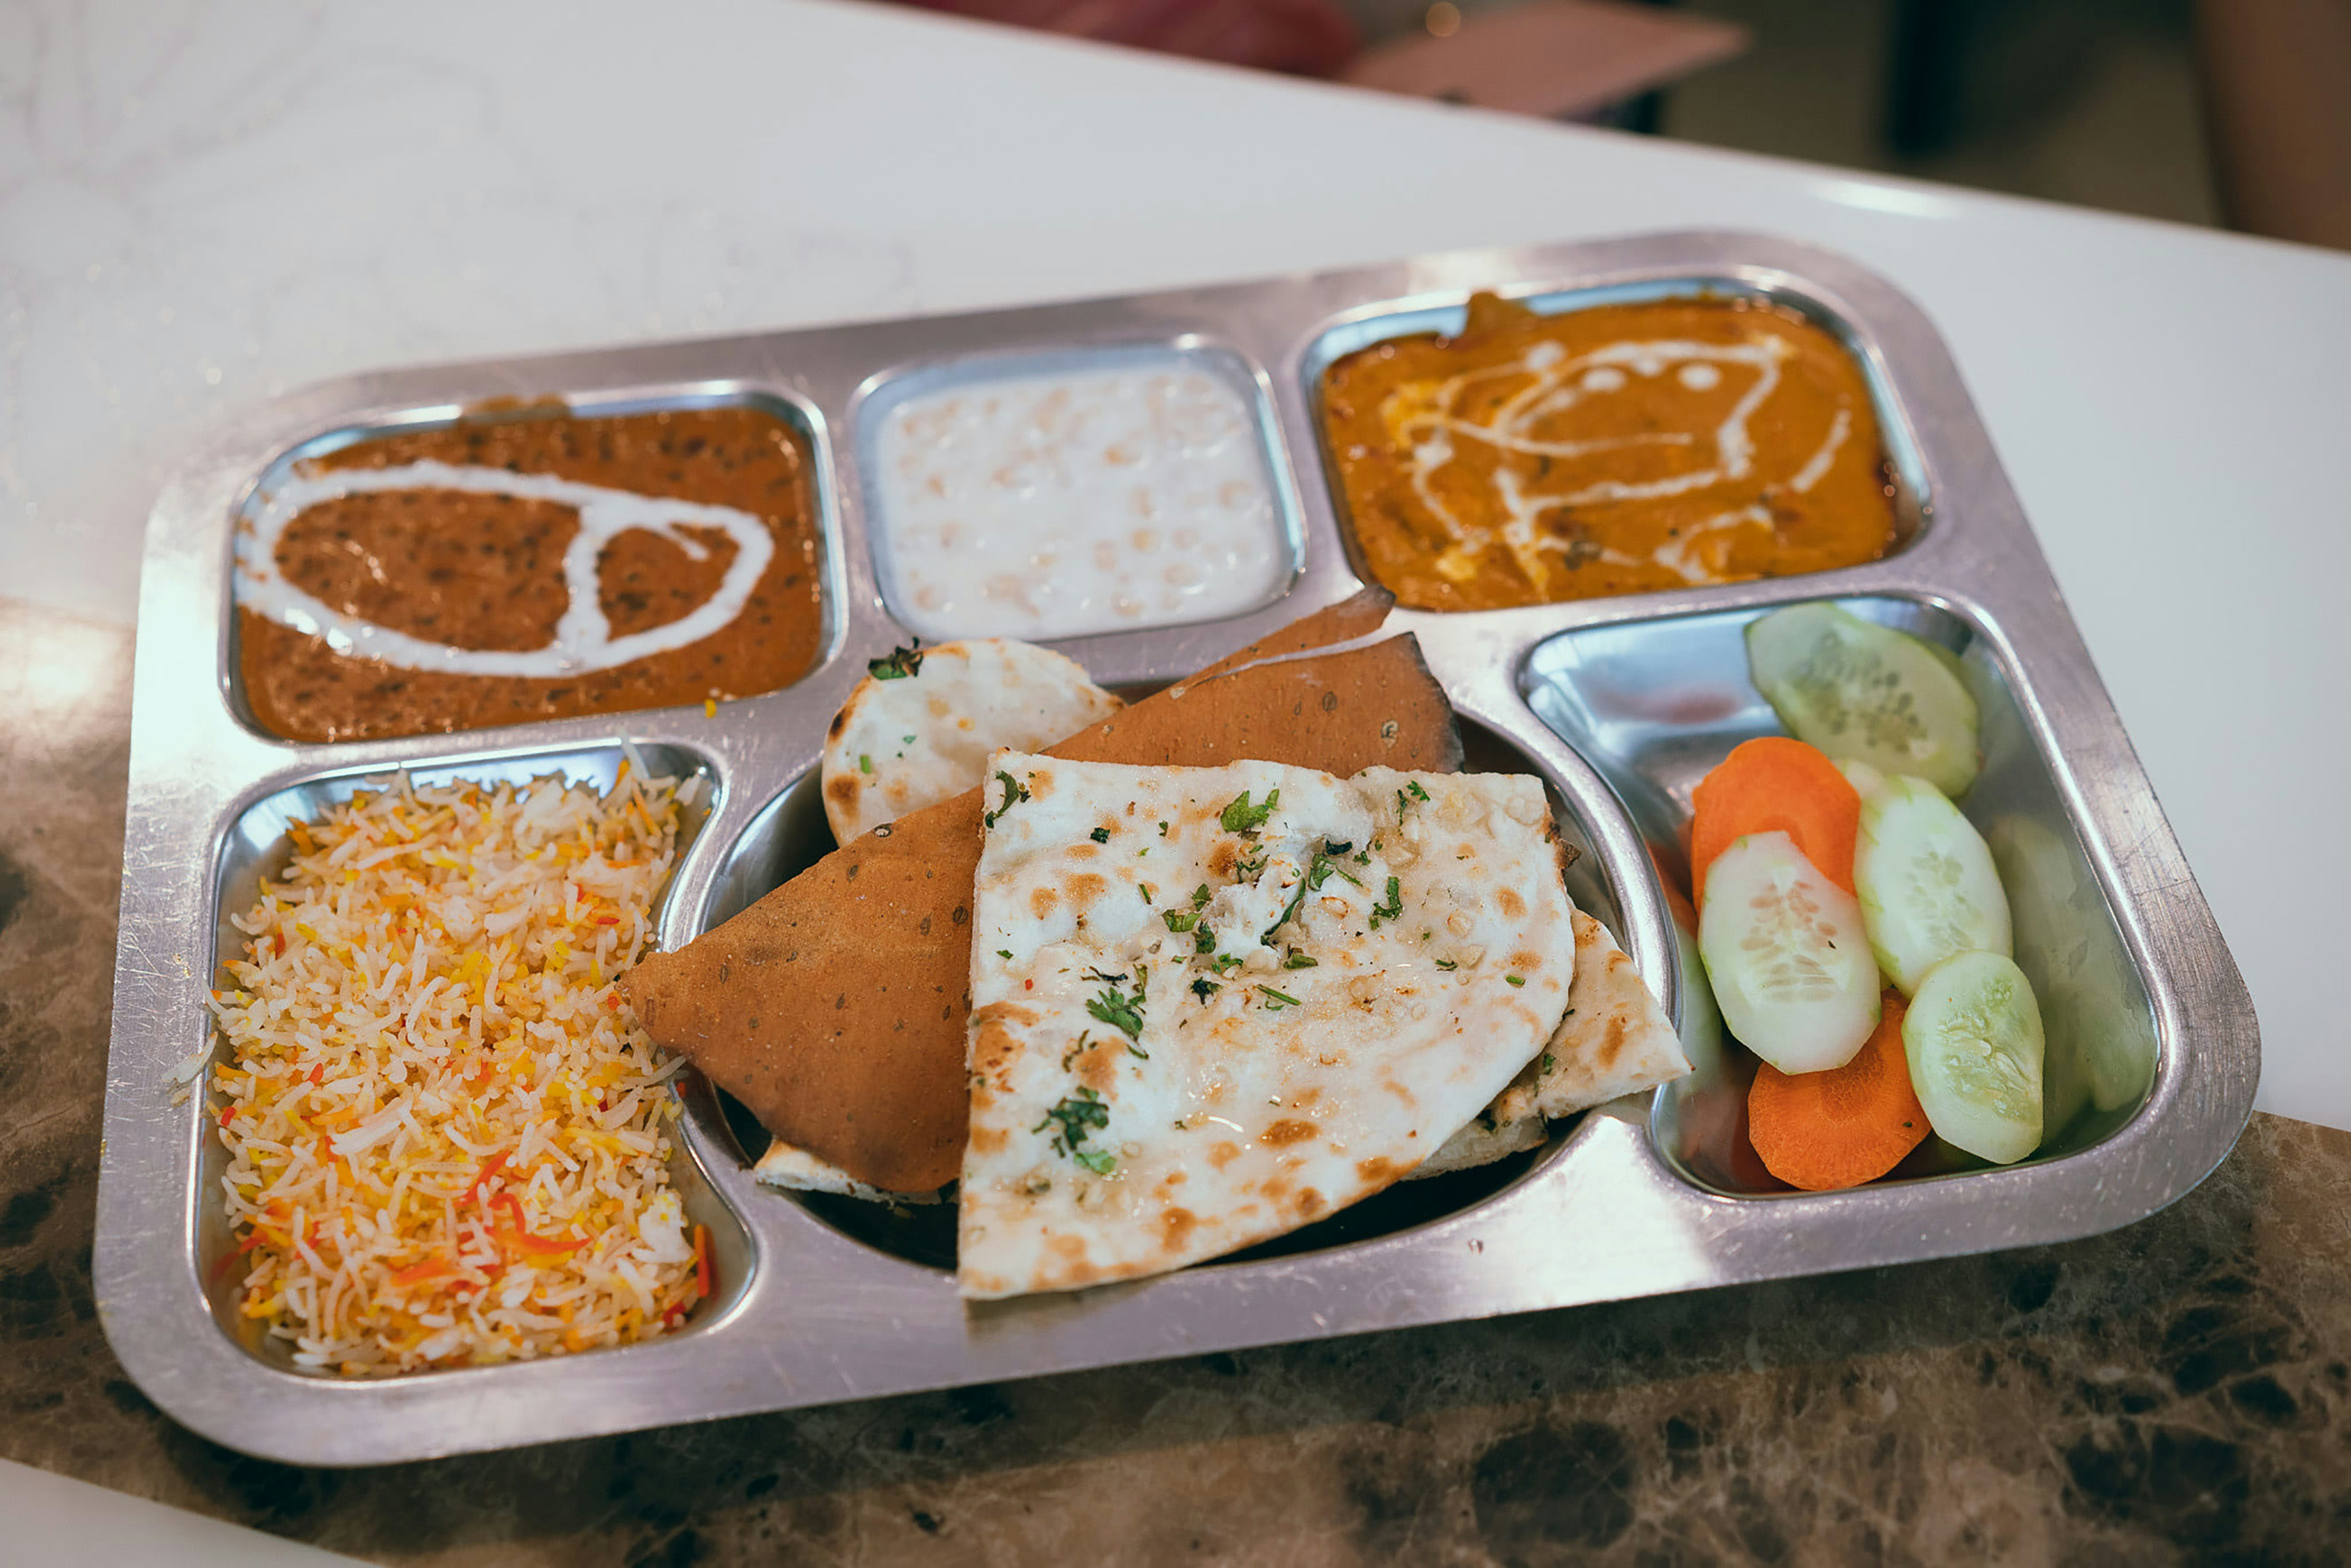

Exploring Meal Options Near Me: A Diverse Culinary Experience
Introduction to Local Meal Options Exploring meal options near one’s location presents an enriching culinary journey that reflects the diversity…
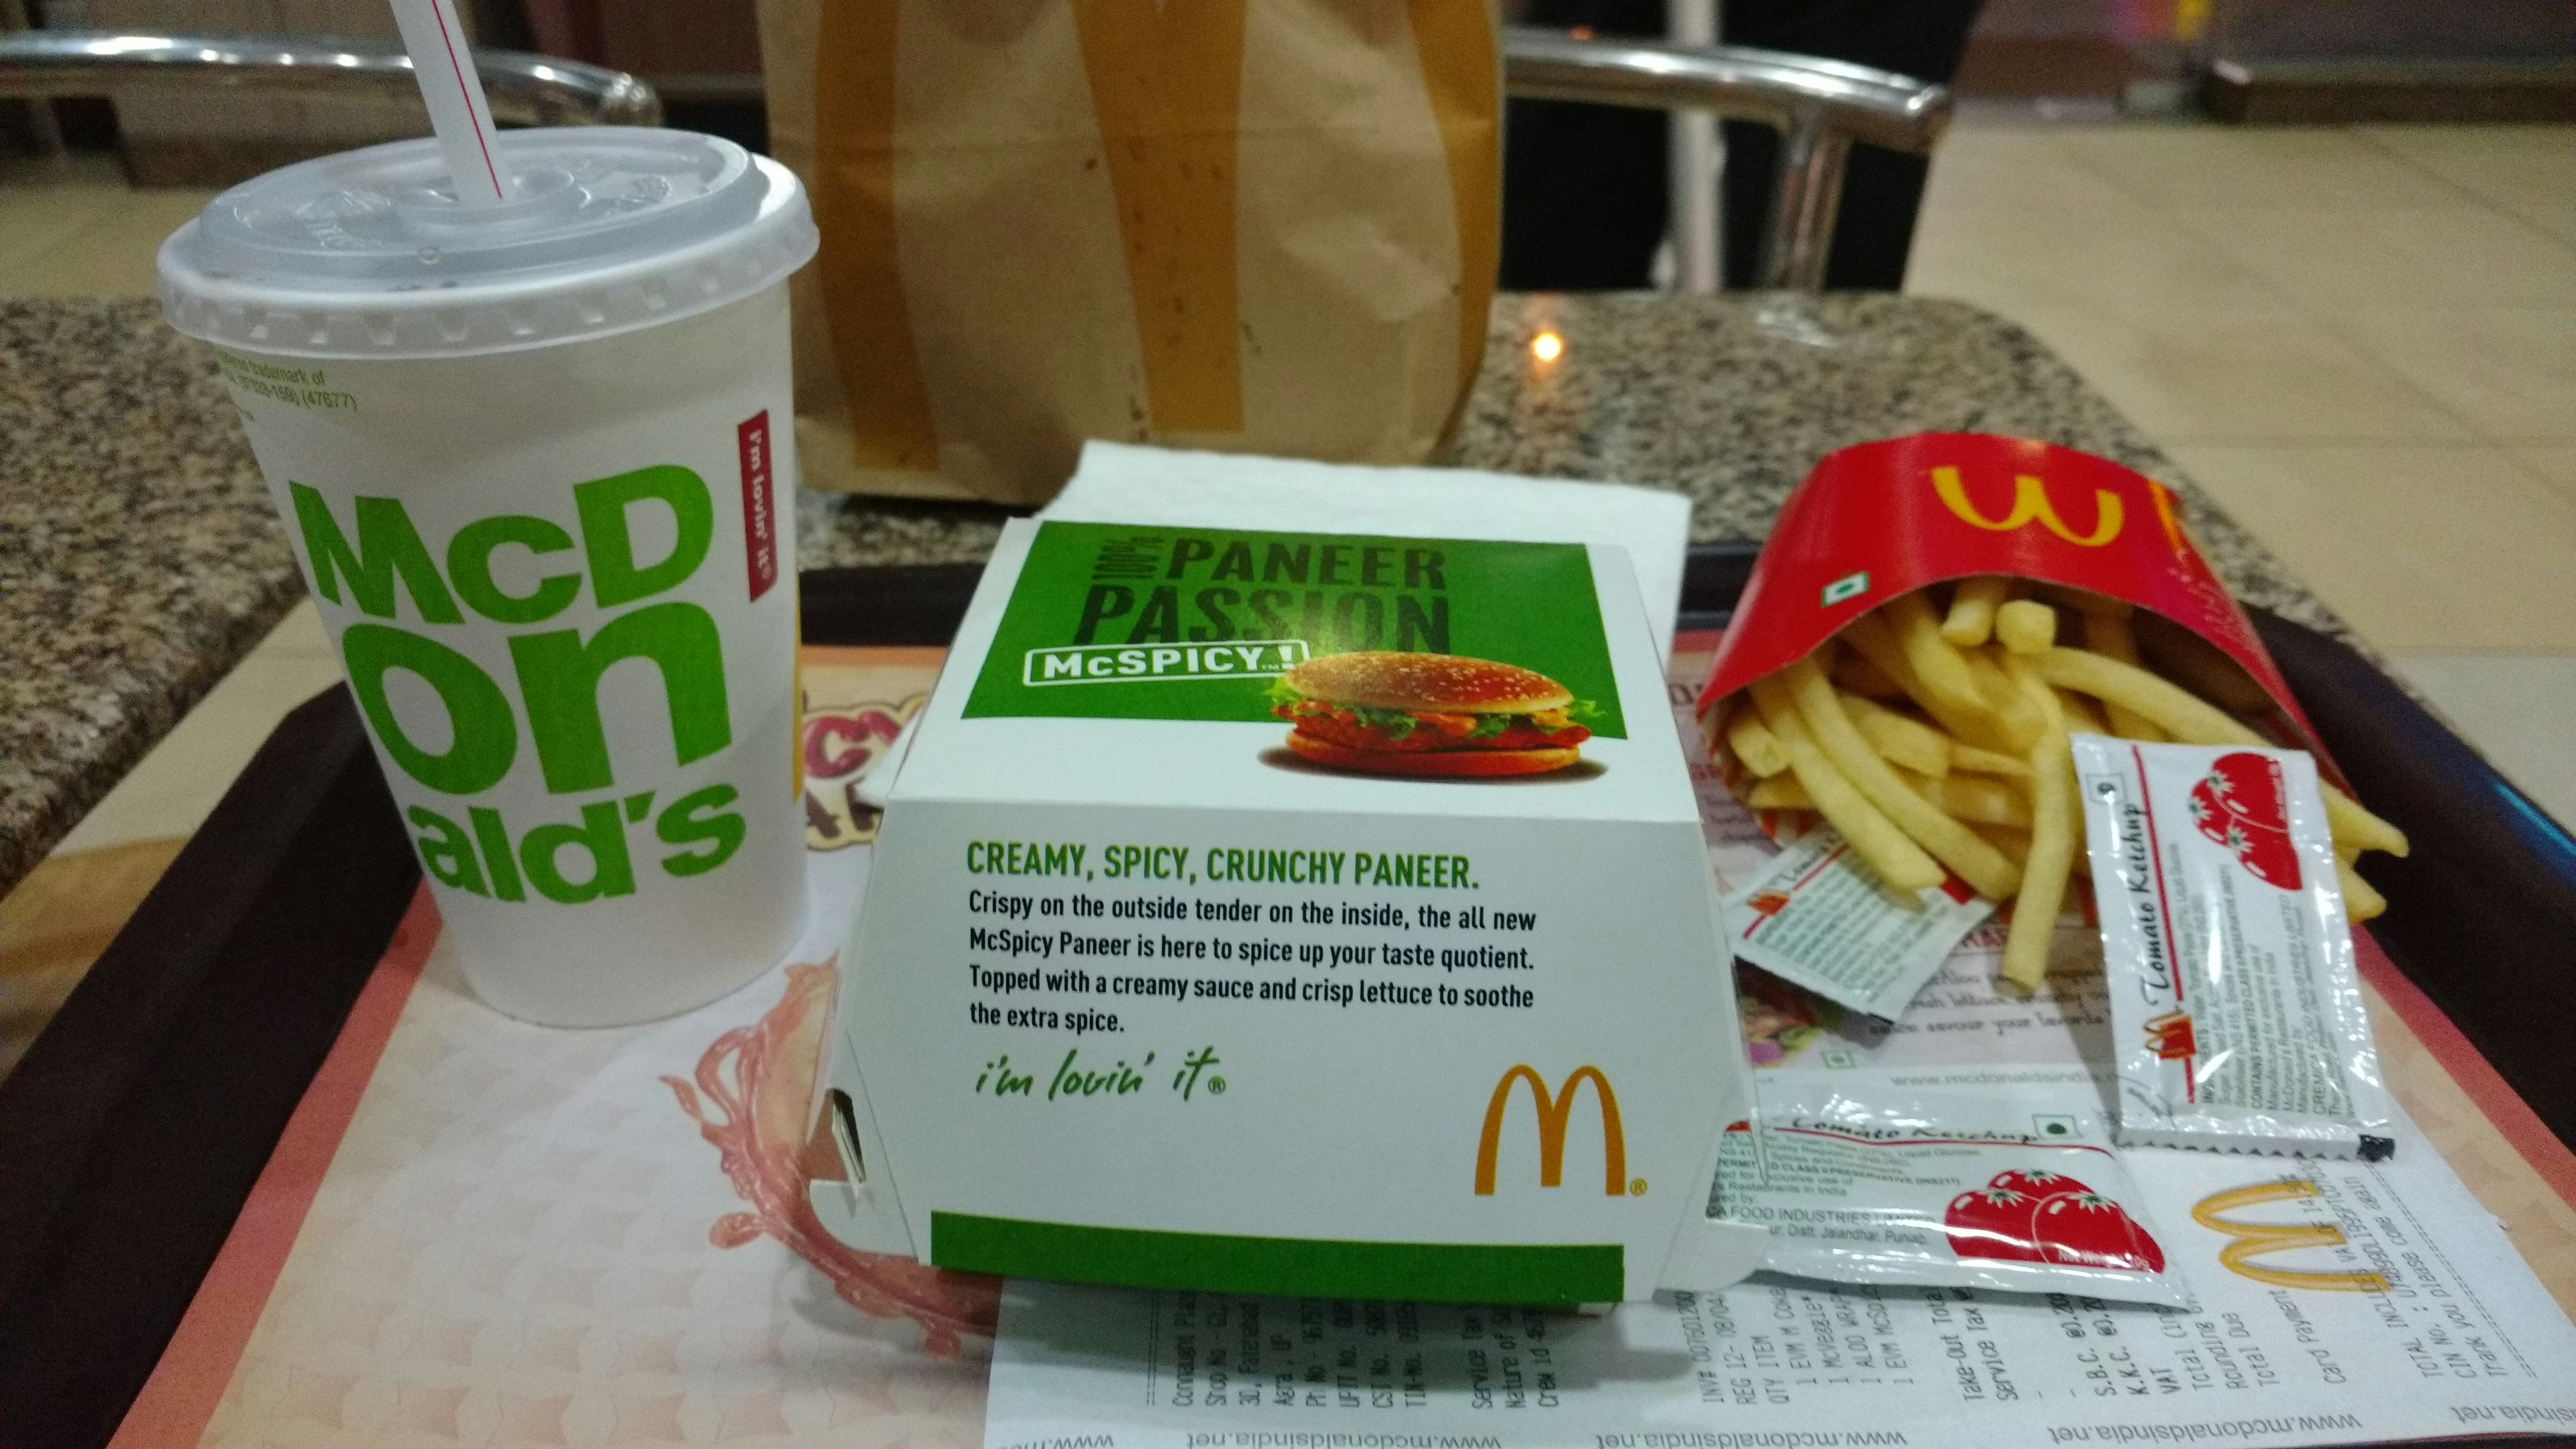
Read MoreExploring Online Food Delivery in Sector 14, Gurgaon
Introduction to Online Food Delivery In today’s fast-paced world, the convenience of online food delivery has changed how we dine.…
Read MoreDelicious Food Combo Offers in Gurgaon Under 99 Rupees
Introduction to Budget-Friendly Dining in Gurgaon Gurgaon, a bustling city renowned for its rapid development and vibrant lifestyle, presents a…
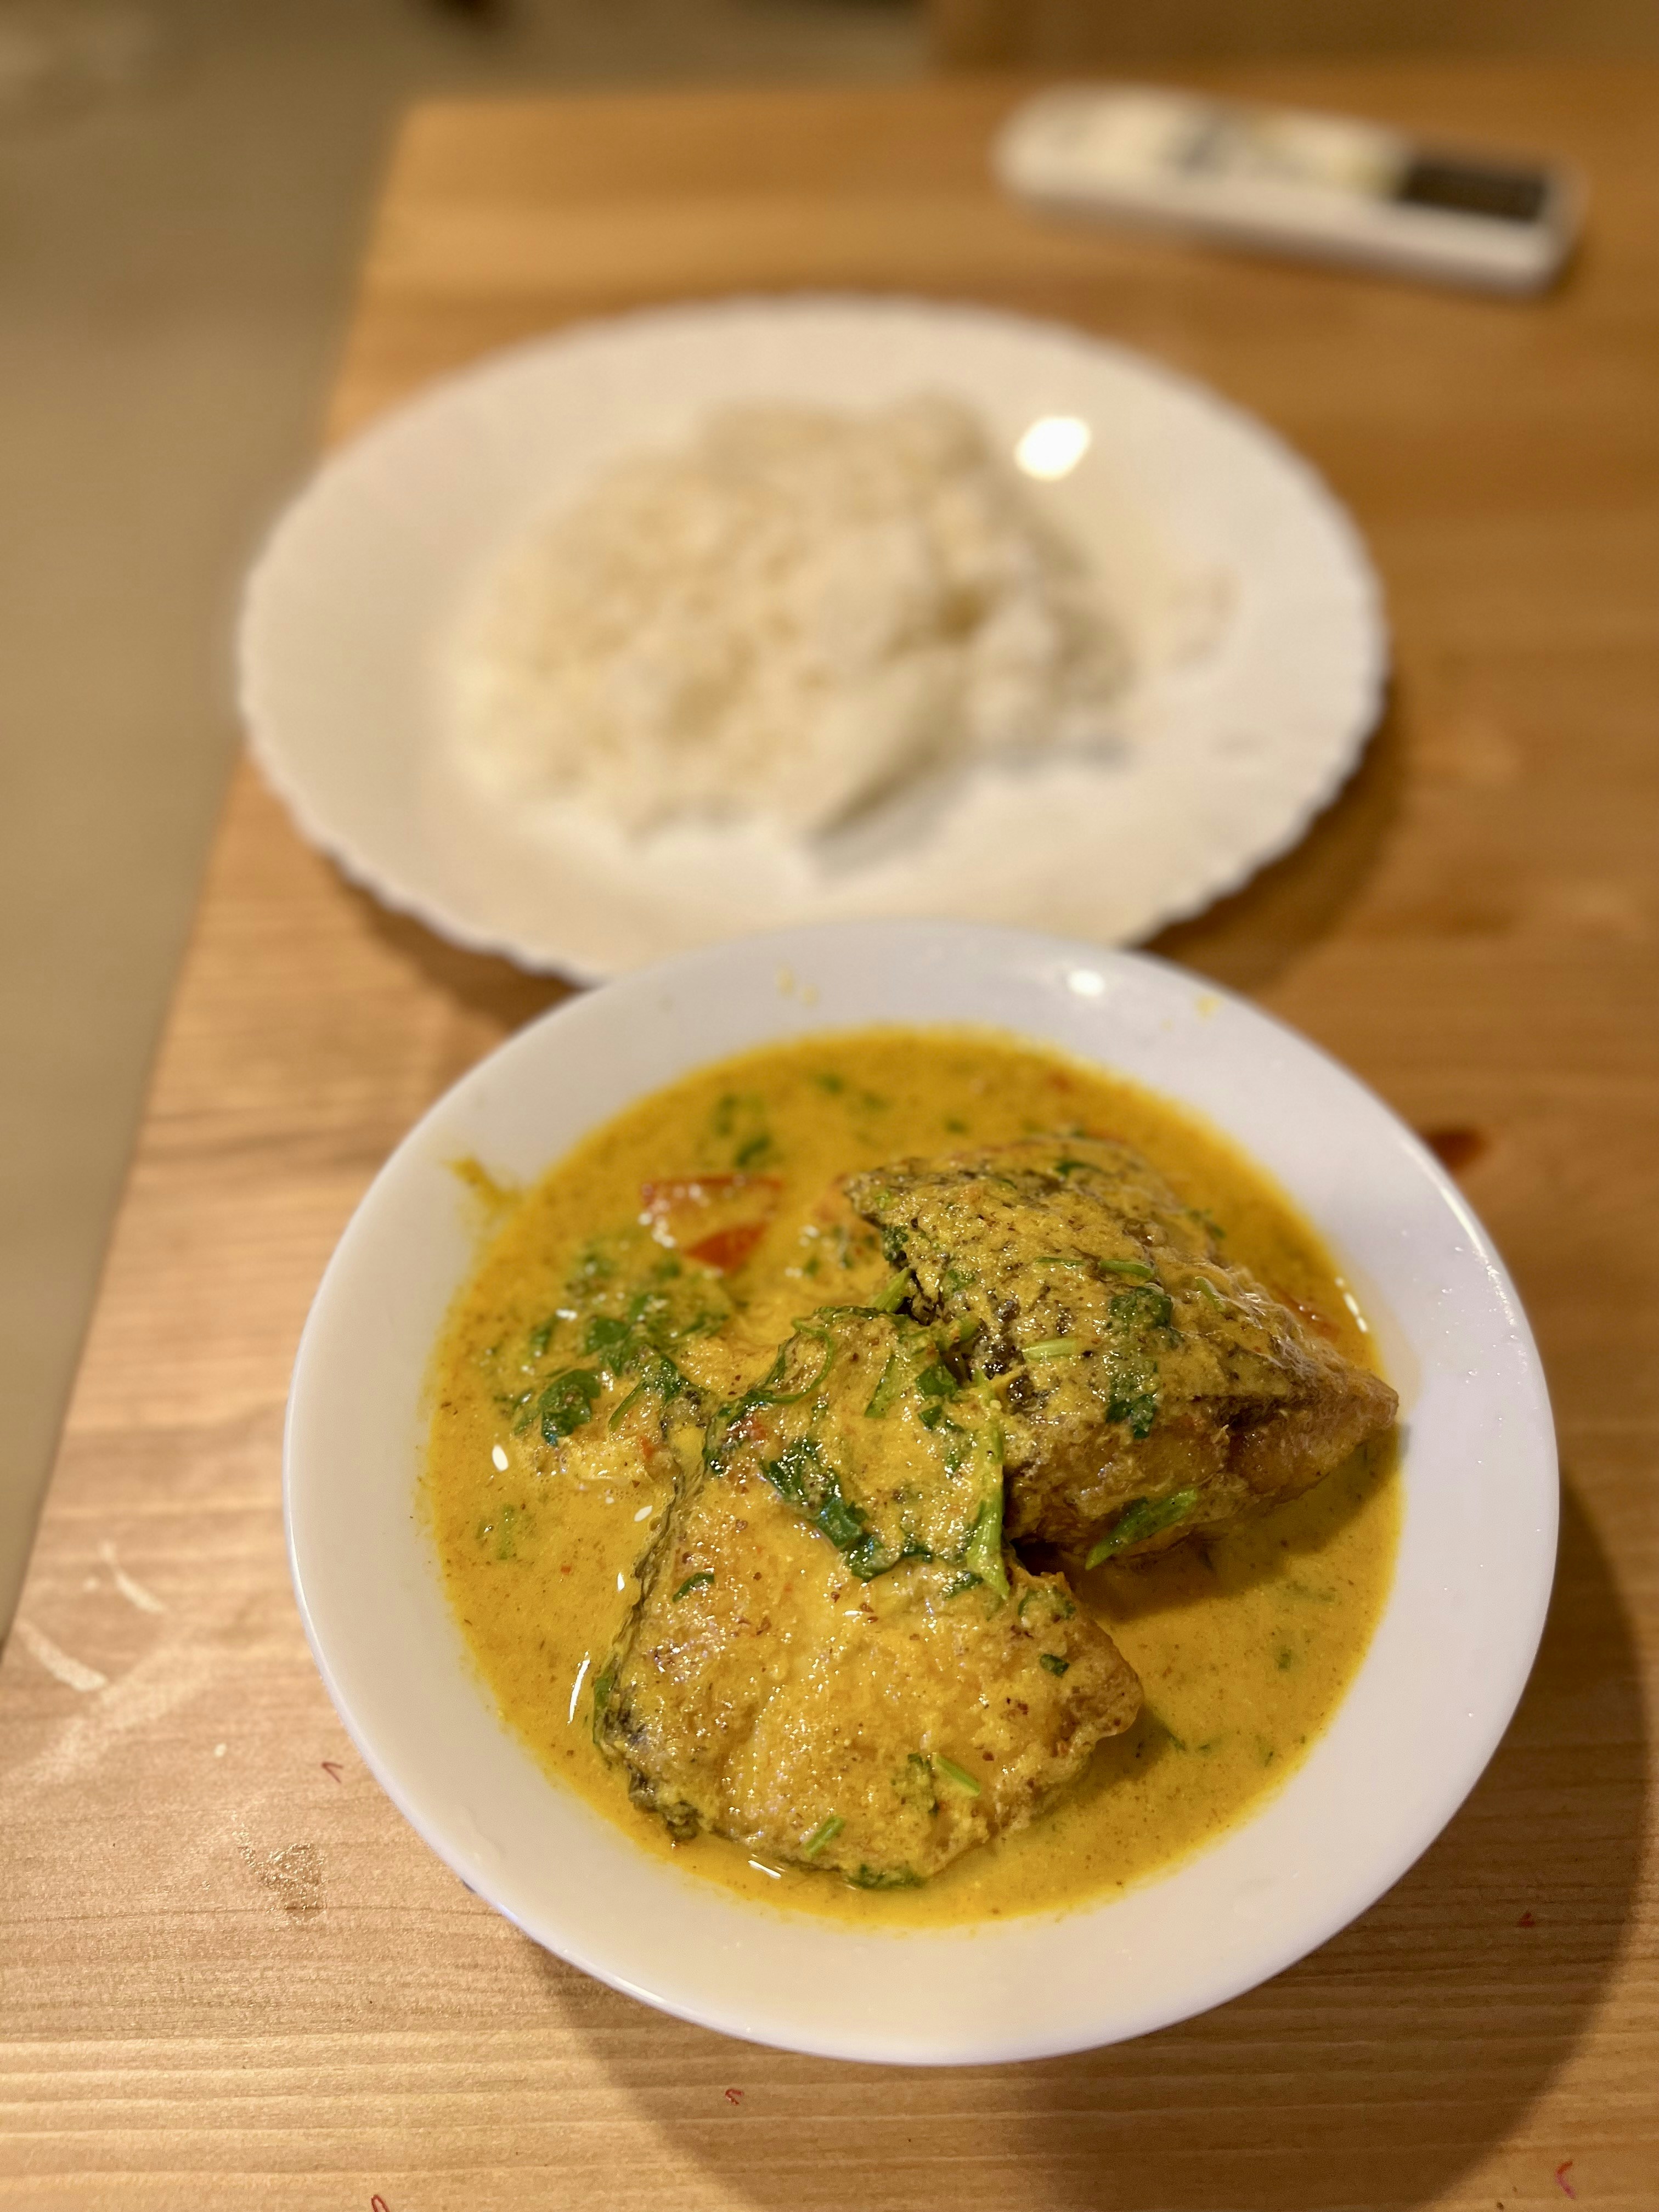
Read MoreAuthentic Bengali Fish Curry Recipe
Introduction to Bengali Fish Curry Bengali fish curry, known as “Macher Jhol,” is a vibrant and aromatic dish from the…
Read MoreBest Fish Curry Delivery in Gurgaon
Experience the Delight of Fish Curry Are you a fan of Indian cuisine? Fish curry is a culinary delight that…
Read MoreEasy Fish Curry Recipe for a Delightful Home Meal
Introduction to Easy Fish Curry Fish curry is a delicious dish that boasts rich flavors and spices. This easy fish…
Read MoreExploring Food Mood in Gurgaon: The Best Hotel and What Makes Their Fish Curry Stand Out
Introduction to Food Mood Gurgaon Food Mood is a distinguished dining establishment situated in the bustling vicinity of Gurgaon, India.…
Read MoreHow to Make Fish Curry: A Step-by-Step Guide
Introduction to Fish Curry Fish curry is a beloved dish enjoyed across numerous cultures, each with its unique twist that…
Read MoreBest Fish Fry in Gurgaon
Best Fish Fry in Gurgaon: Crispy, Flavourful & Perfectly Spiced! If you’re a seafood lover searching for the perfect fish…
Read More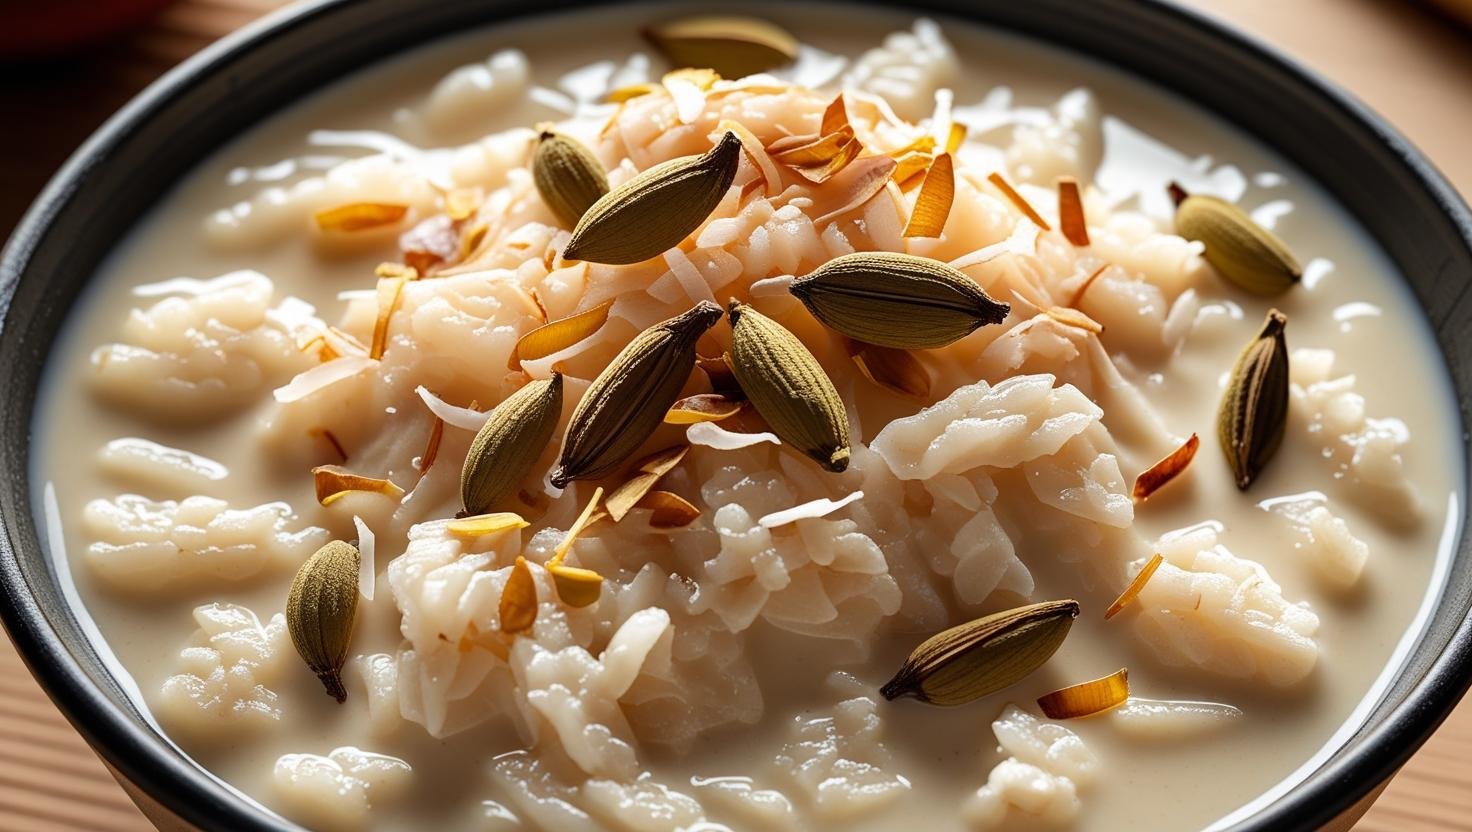
Palada Pradhaman (Sweet Rice Flakes) Recipe
Palada Pradhaman (Sweet Rice Flakes) Recipe: A Traditional Kerala Delight If you’re a fan of traditional Indian desserts, especially from…
Read More